Add a Product from the Catalog
The catalog system contains many thousands of products across multiple industries, and while it is n
 October 01, 2024
Go to Inventory > Products (or use the Search Anything area at the top) and search for the first product you want to list on Reverb. Click to open that product in its Edit view. If you do not yet see your Reverb tab, click here to learn how to set up your integration: Integrating With Reverb.
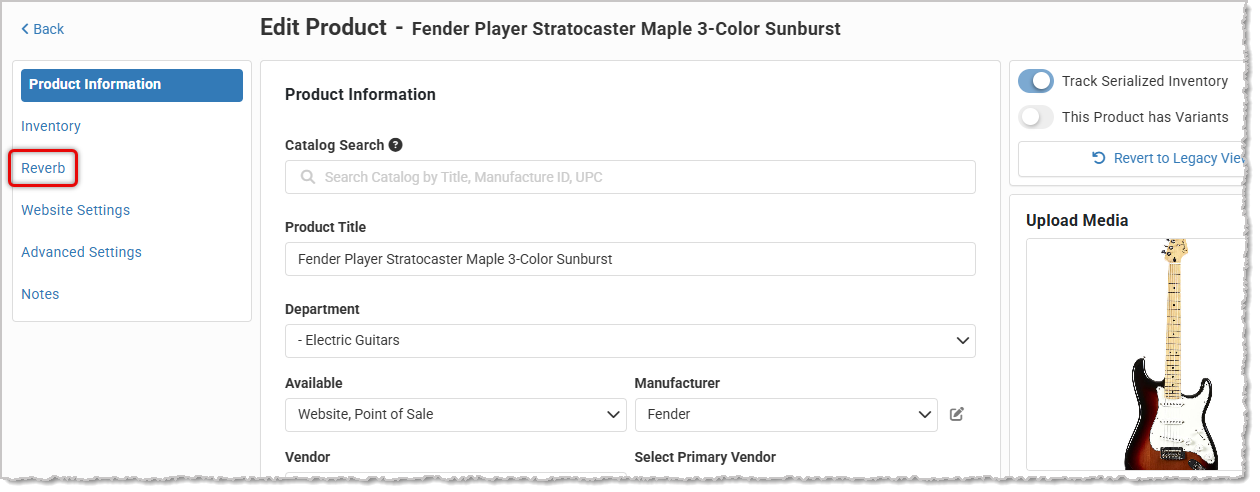
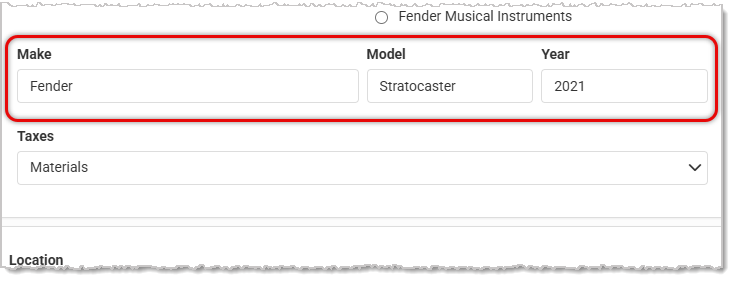
Make sure the Product Title is complete (for better search results overall but especially on Reverb). The Available options should include Website. You will want to enter Make and Model information, as well as the Year of the product, if relevant. Other settings on the Website Settings tab, such as Show Price on Website and Show Add to Cart Button, etc., will NOT affect how your product is listed on Reverb.
Your product will continue to work in our Point of Sale and Website as it has, so your settings for Department on the Product Information tab and Category on the Website Settings tab need to be whatever is appropriate for sale online. On your Reverb tab (see below) you will be able to select the Reverb Categories in which your item will be listed, and that will operate independently of what you show for categories in the MusicShop360 system.

On the Inventory tab, you will also want to list the Condition of the item. The Weight of the item is informational only with respect to Reverb, since you will be entering the actual set shipping charges in the next step. So it's not a required field unless you use it for your Music Shop 360 system website shipping. You also have fields for dimensions (Height, Width, and Length) and a Finish/Color field, where you can enter the item's color and special finish info, if any.
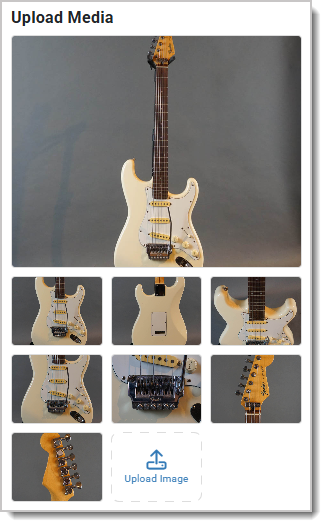
In the Images area for the product, you are able to add a lot of images, if you like. The first one loaded will be the primary image for the product. You can add up to a total of 26 images, if needed, that will map over to the Reverb listing for the product, if you load more, they won't be able to come from this area. Please note, you can add as many images as you like to the Product Description for the product on the Website Settings tab.

On the Website Information tab you will want to enter both an SEO Meta Description and a full Product Description for your product. The SEO Meta Description can only save 183 characters, including spaces and punctuation, and the system will let you know as you enter it how many characters you have left.

For your Product Description, you will want put in some extra effort, since what you provide there will be directly selling your product to the public. You can put in links to downloadable files, such as PDF files (How to Create Links to Pages, Files, and Email Addresses), you can embed YouTube videos (YouTube and Vimeo), and you can provide additional images to promote and sell your product. Please remember that others will likely be listing the same items on Reverb, so the Product Description is how you can elevate your listing above the competition, and as long as you're competitive on price, you'll be the clear choice.
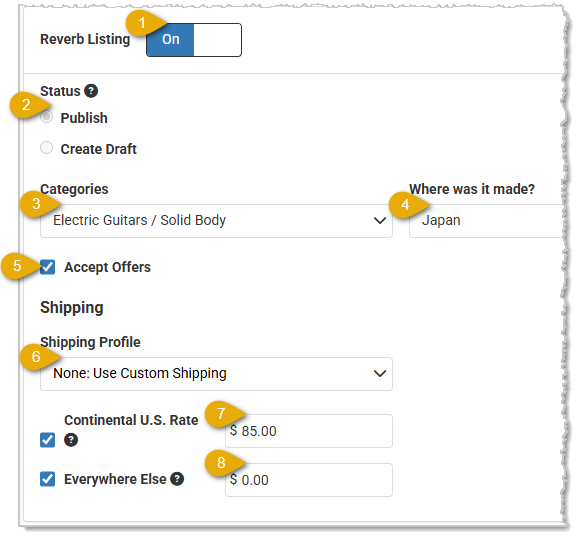
On the Reverb tab, you can set the following options however you need:
Required to Publish - The system will tell you if the product needs anything more in order to be successfully listed on Reverb. In this case, the product will need inventory serial numbers added.
Once you have all of your settings in place, click the Save Product button or the Save & Close button at the bottom of the page to bring your product update live.
Once it is live, you will see your listing in your Reverb account, and it will also be publicly listed in their categories. It will look something like this:
If you already have a Reverb account with items listed and you wish to add them to Music Shop 360, there are a few key things to remember:
Is this page helpful?
×Help us improve our articles