The Blog Module

August 25, 2025
The Blog module is an excellent tool for keeping your website content fresh and building a library of marketing content for your brand. Take a look at what you can do!
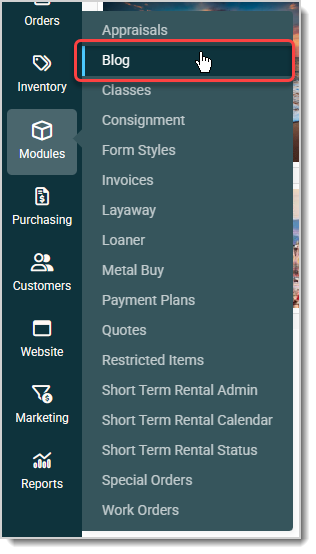
You can get to this part of the system by hovering over Marketing and clicking on the Blog module link.
Working With the Blog Page
The Blog module page lists all of your blog posts and lets you manage them. Here are the major functions of the page:
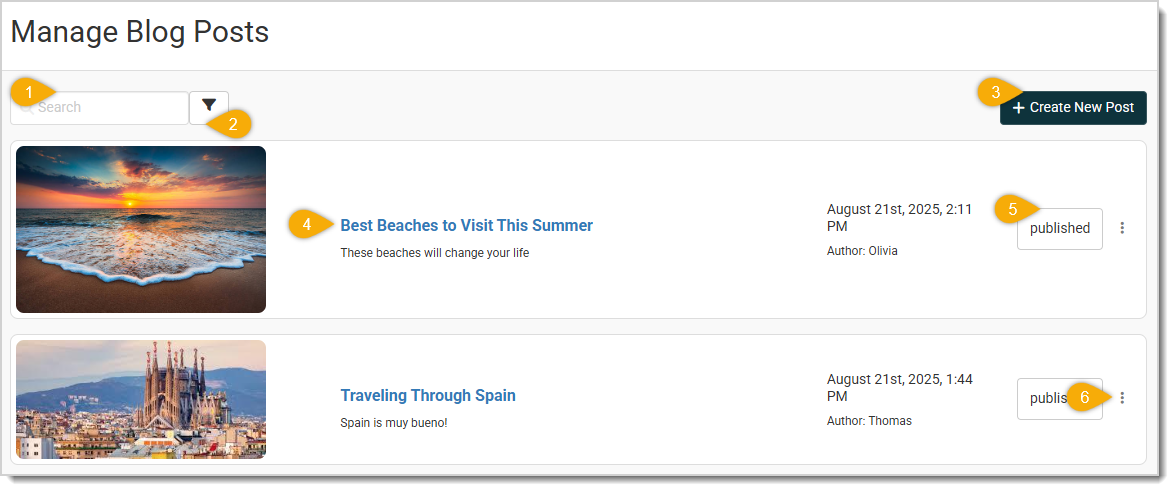
- Search — You can search for posts by keyword or date in the search field.
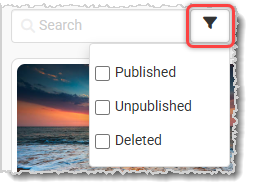
- Filters — You can filter the results by Published, Unpublished, and/or Deleted posts, to view the only the statuses you want.
- +Create New Post — Click this button to open the Create New Post window, where you can compose your next amazing blog post. The way the blogs work is you will compose all blog posts here, and they will be posted to whatever web page(s) you choose to add the Blog module whenever you're ready to publish them. The blog post creation process is detailed fully below.
- Blog Posts — Each blog post will display its Thumbnail image, Title, Creation Date, Author Name, Publication Button, and an Action Menu. You can click on the Title to see a preview of what the blog post will look like.
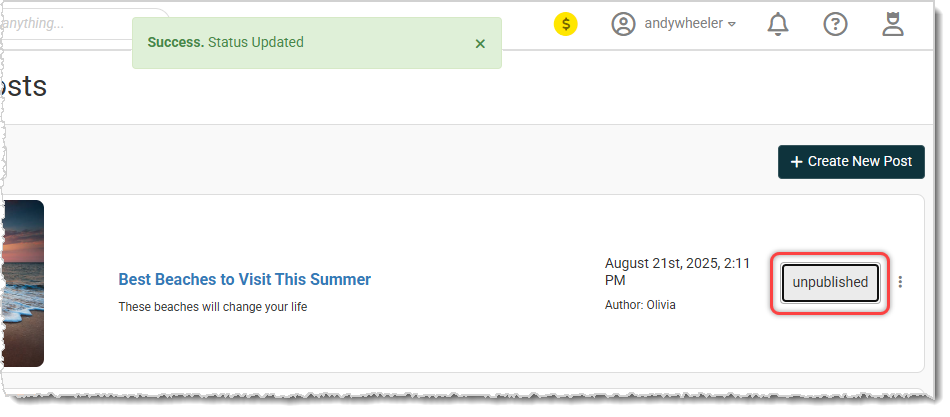
- Publication Button — When you first create a blog post, its status will be Unpublished. Click this button to Publish it or to toggle it back to Unpublished, as needed. Whenever you change the Status of the post, a notification will pop up letting you know the change was successful.
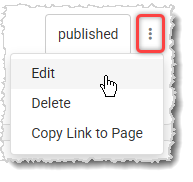
- Action Menu — You can click this icon to open the Action Menu, as shown below. From here you can Edit the blog post, Delete it (you'll be asked to confirm that you actually want to delete it), or Copy Link to Page, which copies the live website page link if the post is published.
Create or Edit a Blog Post
If you are creating a new blog post or editing an existing one, you'll use the area pictured below. Take a look at how to use this feature:
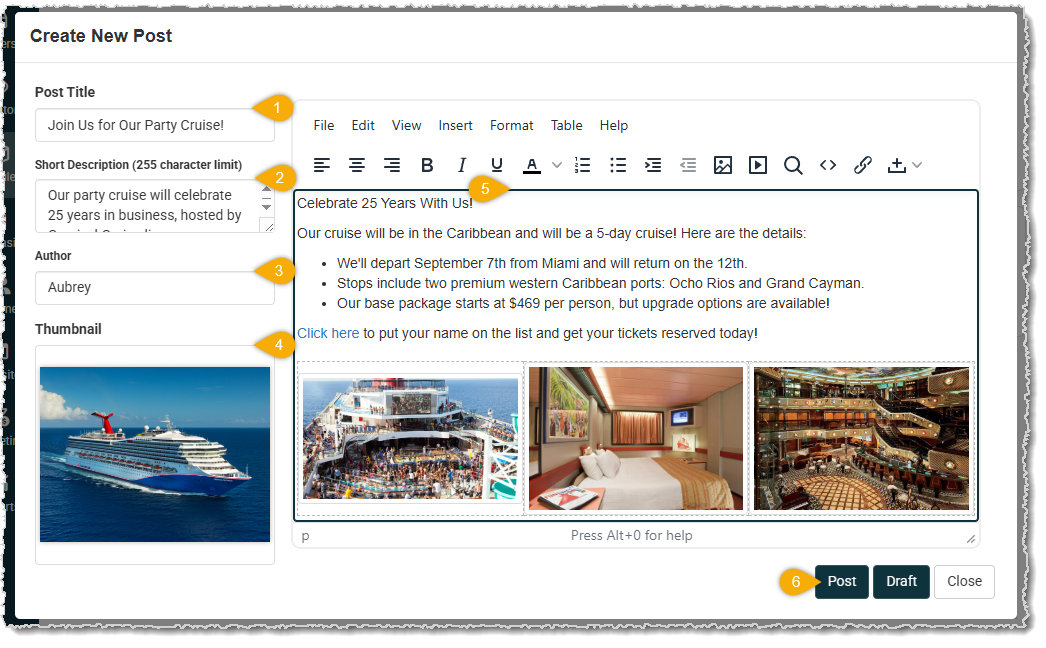
- Post Title — Enter the Title of the post the way you'll want it to appear on your blog page.
- Short Description — The text you enter here will be the Meta description for the blog post page, so it will be used for SEO purposes by search engines. The Short Description will also appear just below the Title on the blog post page.
- Author — Enter the name of the post's author here.
- Thumbnail — Load the full-size image you want for the blog post here, it will display at thumbnail size, but on the blog post page, it will display at full size. To fill the width of the content area, the image should be 1200 pixels wide. You can upload image formats including JPG, PNG, WebP, and SVG.
- Content Editor — Enter the content of your blog post here. You can add all types of content including text, links, tables, images, and you can embed video from services such as YouTube.com using the Source Code editor.
- Save Functions — You can click the Post button to save and publish your blog post right away. This will save it in a Published status. You can click the Draft button to save the post in an Unpublished status, or you can click to Close the editor. If you have unsaved changes, you'll be prompted to Continue Editing or to proceed with not saving and closing the post by clicking the Don't Save button.
Add the Blog Module to a Page
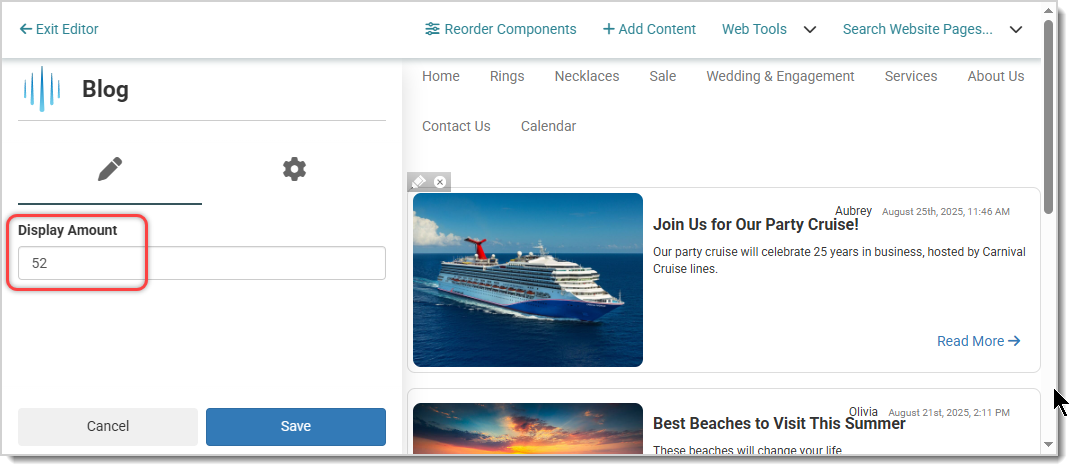
For your visitors to see the Blog posts, you'll need to add it to one or more pages. Wherever you add it, all Published blog posts will display, and you are able to configure how many posts display individually on each page it's added. Follow these steps to add the Blog module to a web page:
- Go to Website > Editor if you're adding the module to your Home page. If you're adding it to any other page, go to Website > Pages to go to the page you want.
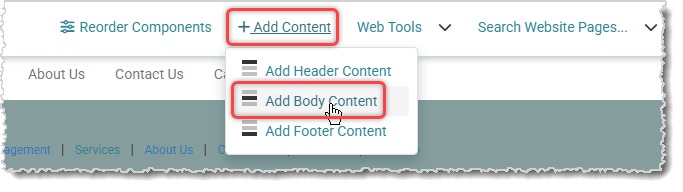
- At the top of the page, click Add Content, then in the menu that opens, click to Add Body Content, as pictured here.
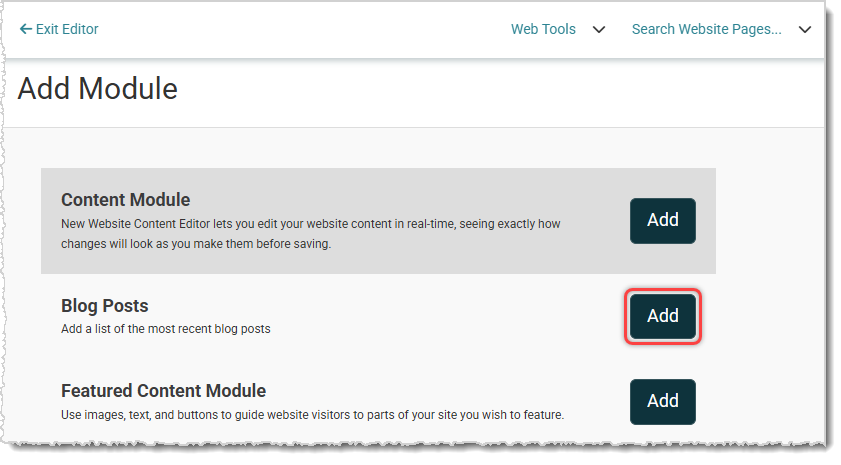
- Click the Add button for the Blog Posts module from the list of website modules.
- Your Published blogs will display on the page as in the example below. You'll also be able to set the number of posts you'll display on this page whenever you first add or go in and edit the module.
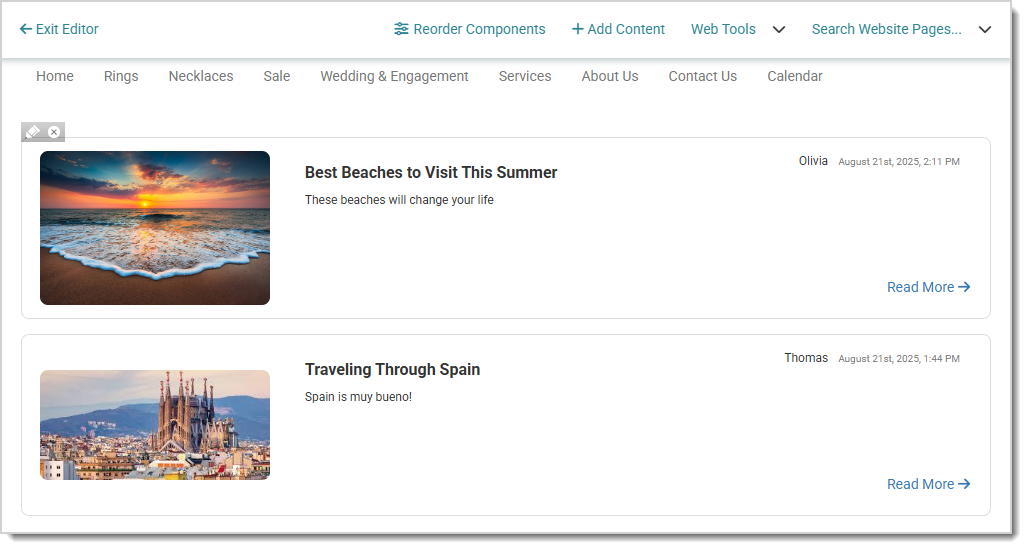
Please Note: The new module will appear on the main part of the page below any existing page content. You can use the Reorder Components function pictured above if you need to drag and drop it into a different position.
Steps for Adding a Customer to a Mailing List Click Customers > Customer List. Search for the Cus
Working with Email Lists To get to this area, click Marketing > Email Lists. The main screen of t
Go to Marketing > Coupons and click the +New Coupon button to begin creating your coupon. When cr
Is this page helpful?
×Help us improve our articles